手順が結構複雑&面倒なので、備忘録。
環境
VPNサーバは既に動いているとする。
対象マシン
- Ubuntu Server 18.04
- CPU Intel (AMD) 64bit
- インターネット接続
準備:ダウンロード
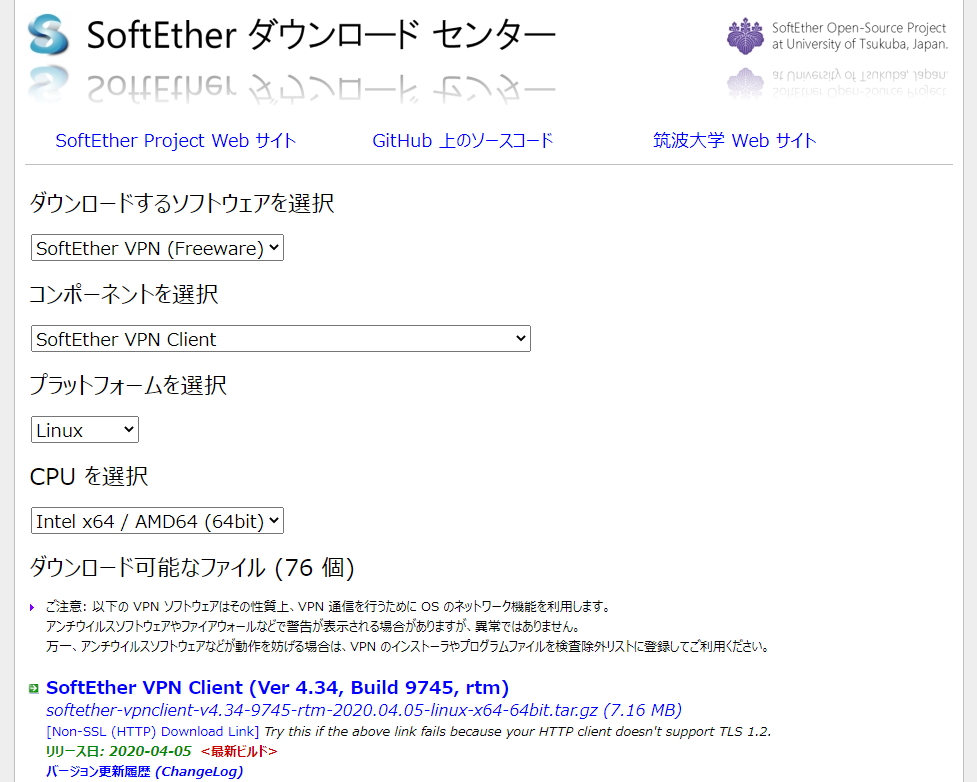
モノが無ければ始まらないという事で、SoftEther VPN Clientをダウンロード。
注意としては、RTM版を使用することか。以前Beta版を使用したらVPNが繋がらなくなってしまったことがある。
ご注意: Beta 版ビルドは開発中の機能が含まれており、不安定な場合があります。企業環境で利用される際には、RTM 版ビルドを使用されることをお勧めします。
https://ja.softether.org/5-download/history
コンポーネントはVPN Clientで良い。
で、ターゲットにネット環境があれば、wget使うのが早いと思われる。私の環境では以下の通り。
最新のRTM版はv4.34だが、実績のあるv4.29を使用することにした。
パッケージは個々のターゲット環境に合わせること。
wget https://github.com/SoftEtherVPN/SoftEtherVPN_Stable/releases/download/v4.29-9680-rtm/softether-vpnclient-v4.29-9680-rtm-2019.02.28-linux-x64-64bit.tar.gzパッケージのURLが判らない場合、Windowsの作業PCなどからブラウザでリンクを見つけてアドレスをコピーすればURLが判るので、そのURLをwgetする。
https://www.softether-download.com/ja.aspx
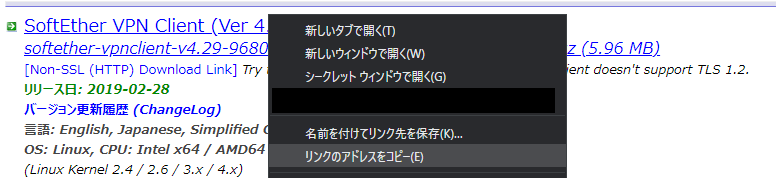
良く分からないとかターゲットにネット環境が無いのであれば、一旦ブラウザでパッケージを落として、どうにかしてターゲットに渡す。
SSH環境があるのであれば、Teratermなどのターミナルソフトで接続してドラッグ&ドロップでSCP経由で投げたりも出来る。
準備:必須コマンドのインストール
makeとgccは必要なので、とりあえずaptでインストール。
$ sudo apt install make gcc
実行ファイルの生成
とりあえずtarを展開。
$ tar xf softether-vpnclient-v4.29-9680-rtm-2019.02.28-linux-x64-64bit.tar.gz
フォルダに移動してmake。ライセンス同意関連の質問は、OKであれば1で答える。
$ cd vpnclient/
$ make
--------------------------------------------------------------------

SoftEther VPN Client (Ver 4.29, Build 9680, Intel x64 / AMD64) for Linux Install Utility
Copyright (c) SoftEther Project at University of Tsukuba, Japan. All Rights Reserved.

--------------------------------------------------------------------


Do you want to read the License Agreement for this software ?

 1. Yes
 2. No

Please choose one of above number:
1

(省略)

Did you read and understand the License Agreement ?
(If you couldn't read above text, Please read 'ReadMeFirst_License.txt'
 file with any text editor.)

 1. Yes
 2. No

Please choose one of above number:
1


Did you agree the License Agreement ?

1. Agree
2. Do Not Agree

Please choose one of above number:
1

(make実行中ログ)

make[1]: Leaving directory '/home/fsvadmin/vpnwork/vpnclient'
配置・パーミッション変更
make エラーが出ていなければ、フォルダごと移動&権限変更。
# /usr/local下に配置
$ cd ../
$ sudo mv vpnclient /usr/local/

# パーミッション変更
$ cd /usr/local
$ sudo chown -R root:root vpnclient
$ cd vpnclient
$ sudo chmod 600 *
$ sudo chmod 700 vpncmd
$ sudo chmod 700 vpnclient
VPNクライアントの設定
VPNクライアントの設定に移る。
$ sudo ./vpnclient start
The SoftEther VPN Client service has been started.

$ sudo ./vpncmd
vpncmd command - SoftEther VPN Command Line Management Utility
SoftEther VPN Command Line Management Utility (vpncmd command)
Version 4.29 Build 9680   (English)
Compiled 2019/02/28 19:22:54 by yagi at pc33
Copyright (c) SoftEther VPN Project. All Rights Reserved.

By using vpncmd program, the following can be achieved.

1. Management of VPN Server or VPN Bridge
2. Management of VPN Client
3. Use of VPN Tools (certificate creation and Network Traffic Speed Test Tool)

Select 1, 2 or 3: 2

Specify the host name or IP address of the computer that the destination VPN Client is operating on.
If nothing is input and Enter is pressed, connection will be made to localhost (this computer).
Hostname of IP Address of Destination:

Connected to VPN Client "localhost".
※vpnclient startをしていないと、”Hostname of IP Address of Destination:” 時に以下の “Error occurred. (Error code: 1)” エラーが出るので注意!
Specify the host name or IP address of the computer that the destination VPN Client is operating on.
If nothing is input and Enter is pressed, connection will be made to localhost (this computer).
Hostname of IP Address of Destination:

Error occurred. (Error code: 1)
Connection to the server failed. Check network connection and make sure that address and port number of destination server are correct.
仮想NICの作成。名前は何でも良い。
ここでは開発に使用したかったので、devとした。
VPN Client>NicCreate
NicCreate command - Create New Virtual Network Adapter
Virtual Network Adapter Name: dev

The command completed successfully.
アカウントの作成。
VPN Client>AccountCreate
AccountCreate command - Create New VPN Connection Setting
Name of VPN Connection Setting: dev

Destination VPN Server Host Name and Port Number: (VPNサーバIP):443

Destination Virtual Hub Name: (仮想ハブ名)

Connecting User Name: (接続ユーザ名)

Used Virtual Network Adapter Name: dev

The command completed successfully.
アカウントのパスワードを設定。
VPN Client>AccountPasswordSet
AccountPasswordSet command - Set User Authentication Type of VPN Connection Setting to Password Authentication
Name of VPN Connection Setting: dev

Please enter the password. To cancel press the Ctrl+D key.

Password: (接続ユーザのパスワード)
Confirm input: (接続ユーザのパスワード)


Specify standard or radius: standard

The command completed successfully.
2021/3/14 追記:自動接続のためには以下を設定。
VPN Client>AccountStartupSet dev
AccountStartupSet command - Set VPN Connection Setting as Startup Connection
The command completed successfully.
VPN接続を開始。
VPN Client>AccountConnect dev
AccountConnect command - Start Connection to VPN Server using VPN Connection Setting
The command completed successfully.
exitで抜けて、DHCPでアドレス取得して確認。
$ sudo dhclient vpn_dev
$ ifconfig
繋がった。長かった。
一時的な接続
再起動などでVPN接続が切れた場合、以下で接続可能。
sudo /usr/local/vpnclient/vpnclient start
sudo dhclient vpn_dev
恒久的な接続はまた今度。